Top 10 Helpful Exercises for Frozen Shoulder
Frozen shoulder (also known as adhesive capsulitis) is a disorder in which the shoulder is stiff, painful, and has limited motion in all directions. Frozen shoulder exercises are usually the cornerstone of treating frozen shoulders.
Warm up your shoulder before completing exercises for the foreign shoulder. The most accessible approach to do this is to take a warm shower or bath for 10 to 15 minutes. You can also use a moist heating pad or a damp towel heated in the microwave, but it may not be as effective.
Stretch to the point of tension, not pain, when practicing the following frozen shoulder exercises.
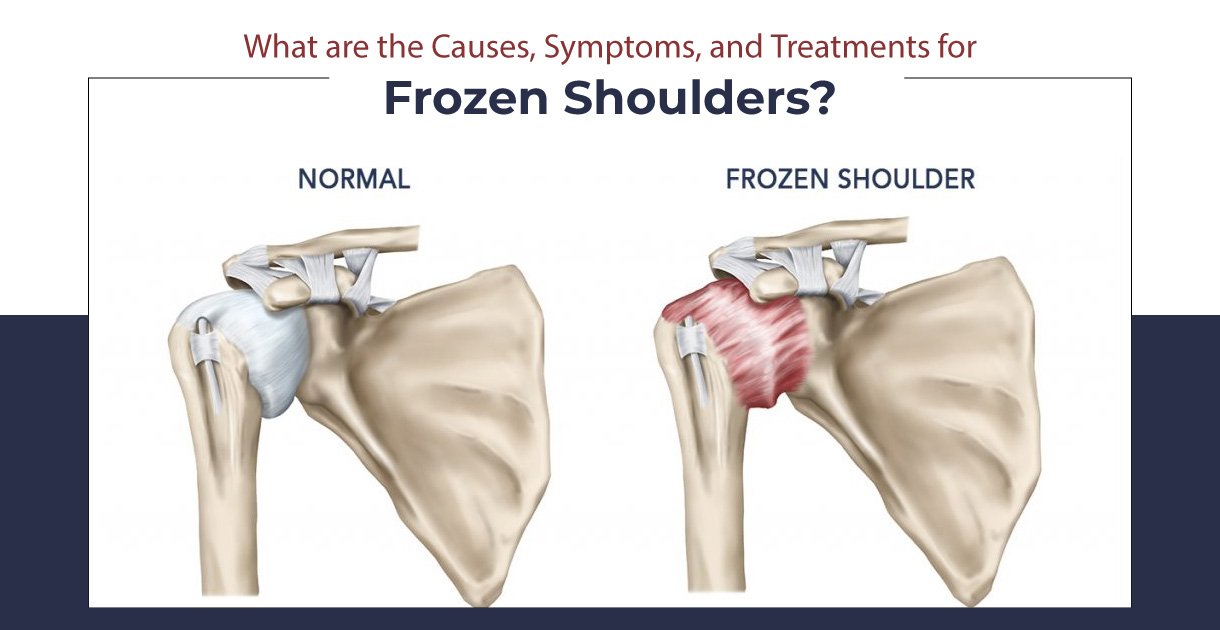
How Does Frozen Shoulder Occur?
Consider an accordion. When the accordion is shrunk, it has a lot of folds. Similarly, when the shoulder joint is at your side, the connective tissue on the underside of the joint folds up.
The folds of a frozen shoulder cling together and do not easily unfold to allow a full range of motion. It causes considerable pain and restriction of shoulder joint movement.
The Most Helpful Exercises for Frozen Shoulder
Pendulum Stretches
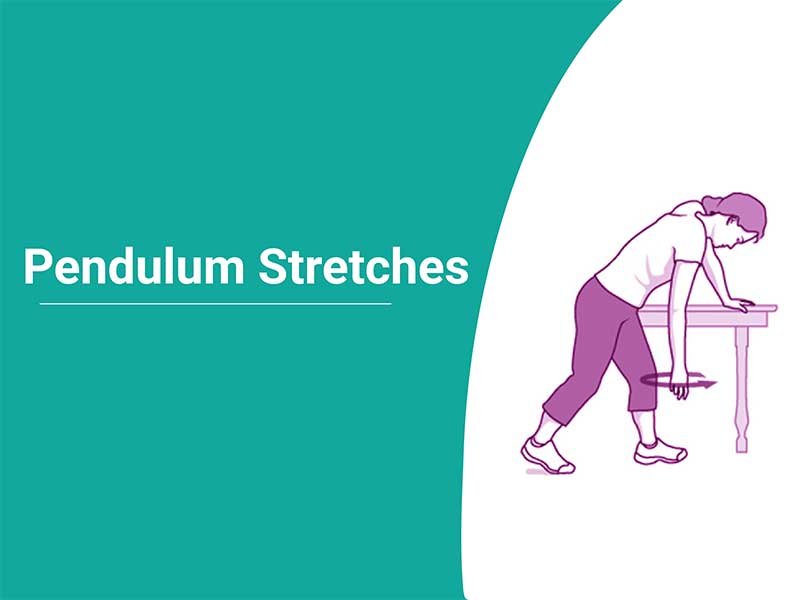
Perform this workout first. Allow your shoulders to relax. Stand up and lean slightly forward, allowing the affected arm to dangle. Swing your arm in a tiny circle about a foot wide. Once a day, make ten revolutions in each direction. Increase the diameter of your swing as your symptoms improve, but never force it. When you’re ready, increase the stretch by swinging your arm with a light weight (three to five pounds).
Towel Stretch
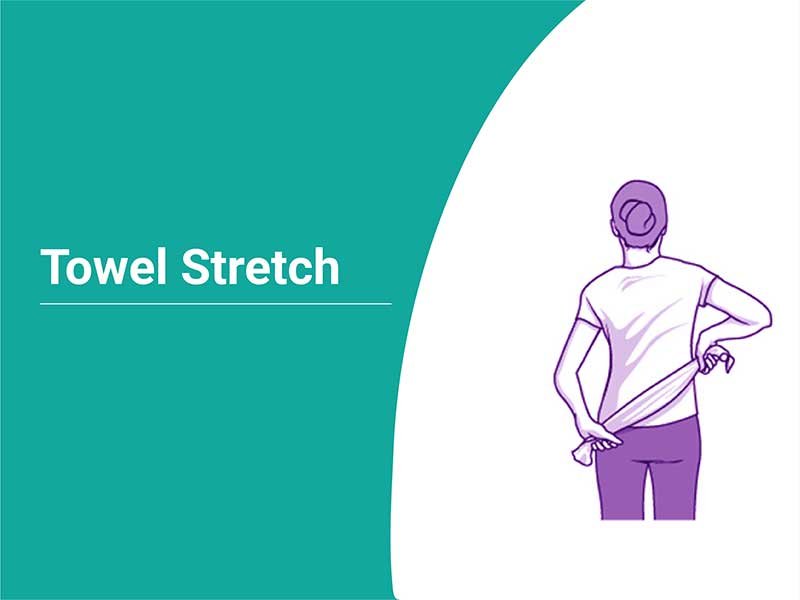
Hold one end of a three-foot-long towel behind your back with one hand and the opposite end with the other. Maintain a horizontal position with the towel. Pull your good arm upward to stretch the affected arm. An advanced exercise variant can be performed with the towel draped over your healthy shoulder. Hold the bottom of the towel with the affected arm and draw it toward the lower back with the unaffected arm. Repeat this 10 to 20 times per day.
Finger walk

Face wall three-quarters of the way away. With the affected arm’s fingertips, reach out and touch the wall at waist level. With your elbow slightly bent, carefully walk your fingers up the wall, spider-like, until you can comfortably raise your arm. Not your shoulder muscles, but your fingers should be performing the effort. Lower the arm slowly (with the assistance of the good arm if required) and repeat. Do this workout 10 to 20 times per day.
Cross Body Reach

Lie down or stand. Lift your affected arm at the elbow with your good arm and bring it up and across your body, applying slight pressure to extend the shoulder. For 15 to 20 seconds, hold the stretch. Repeat 10 to 20 times per day.
Armpit Stretches
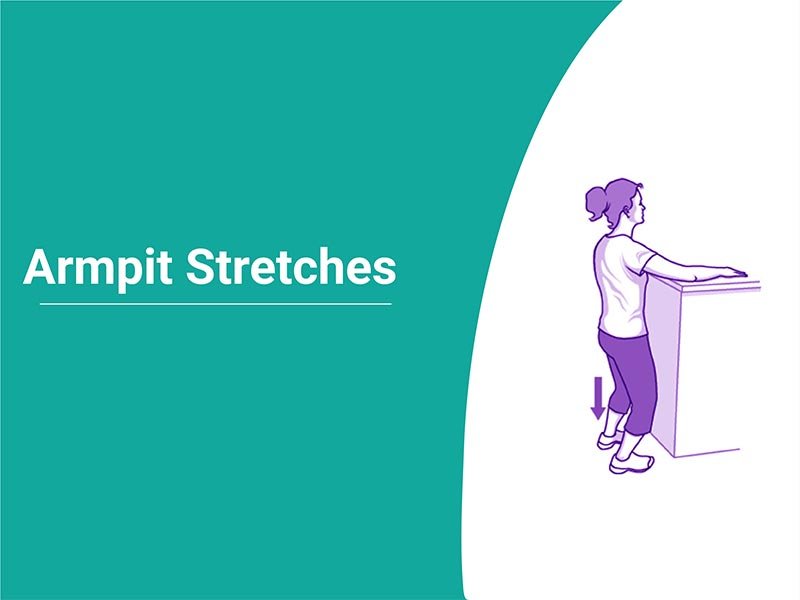
Lift the injured arm onto a breast-high shelf with your good arm. Bend your knees gently, opening the armpit. Deepen your knee, bend slightly, stretch your armpit softly, and then straighten. Stretch a little further with each knee bend, but don’t strain it. Repeat these 10 to 20 times per day.
Starting to Strengthen
Add rotator cuff-strengthening exercises as your range of motion improves. Warm up your shoulder and conduct stretching exercises before beginning strengthening workouts.
Outward Rotation
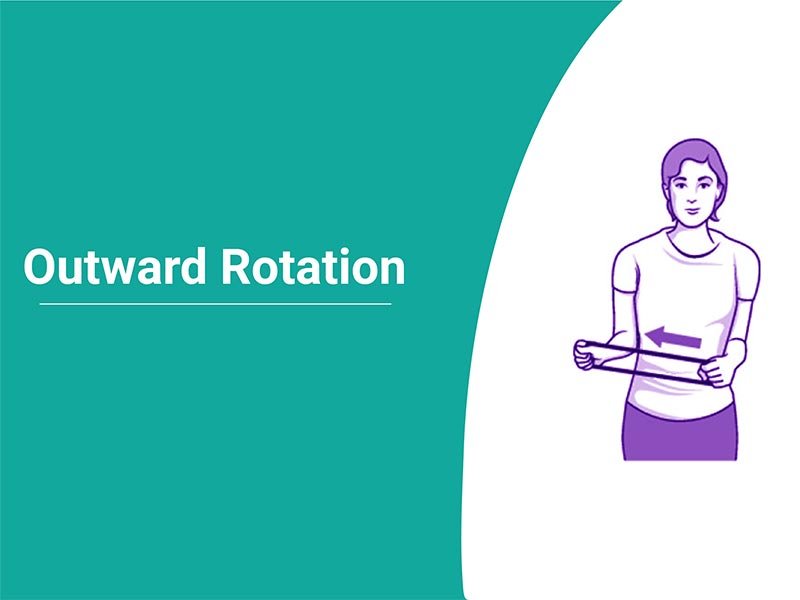
Hold a rubber workout band in your hands, elbows at a 90-degree angle near your sides. Hold for five seconds while rotating the bottom half of the affected arm outward, two or three inches. Once a day, repeat 10 to 15 times.
Inward Rotation
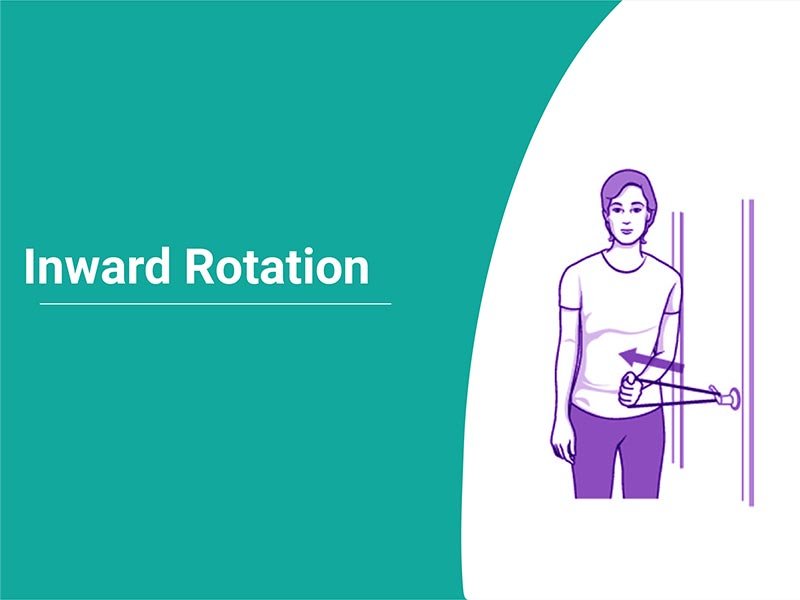
Place one end of a rubber exercise band around the doorknob of a closed door. Hold the other end with the injured arm’s hand, and elbow at a 90-degree angle. Pull the band two or three inches closer to your body and hold for five seconds. Once a day, repeat 10 to 15 times.
Buy the Harvard Special Health Report Stretching: 35 exercises to enhance flexibility and reduce pain for more exercises to improve your balance and prevent falls, increase your flexibility, and even help relieve arthritis, back, and knee pain.
Assisted Shoulder Flexion
Sets: 10 reps: 10 seconds’ rest: 5 seconds
Lie on your back with your legs bent and both hands firmly gripping the stick. Keep your shoulder blades together as you bring the stick as far over your head as possible with your good arm.
Maintain your posture and relax.
The GOOD arm should undertake most of the work, with the afflicted arm simply riding along for the ride.
Assisted External Rotation
- Ten reps/10 sets 5-second duration
- Lie on your back, knees bent, and place one hand at either end of the stick.
By pressing the hand with the stick while keeping the afflicted elbow against the body, you can move your hand away and increase mobility. Maintain the position, then return to the starting point and repeat.
Abduction With Stick
- Ten reps/10 sets 5-second hold
- Lie on your back with your knees bent and one hand on either end of the stick.
- Slowly move the injured arm away from your body while pressing the stick with your good arm to increase mobility.
- Raise the arm as far as possible.
- Maintain your posture, then lower your arm and repeat.
Final Words
If you have a frozen shoulder, the worst thing you can do is not move your arm because it aches. To avoid freezing, keep your shoulder engaged and moving.
The goal is to consistently take the joint to its maximum range of motion and flexibility to reconstruct the connective tissue in the shoulder to its former degree of range of motion and flexibility.
Are you looking for an expert physiotherapist in Ahmedabad? Contact Dr. Niraj Patel (Physiotherapist) to get the best treatment!